Setup
A checklist to get your app ready in the dashboard. Create your account, choose how you'll integrate, then set up your app for that path.
1. Create your account
Don't have a TapResearch account yet? Sign up — it's quick. Choose the Publisher/Developer option. You'll need an account and an API token to integrate (Hosted Link doesn't use one).
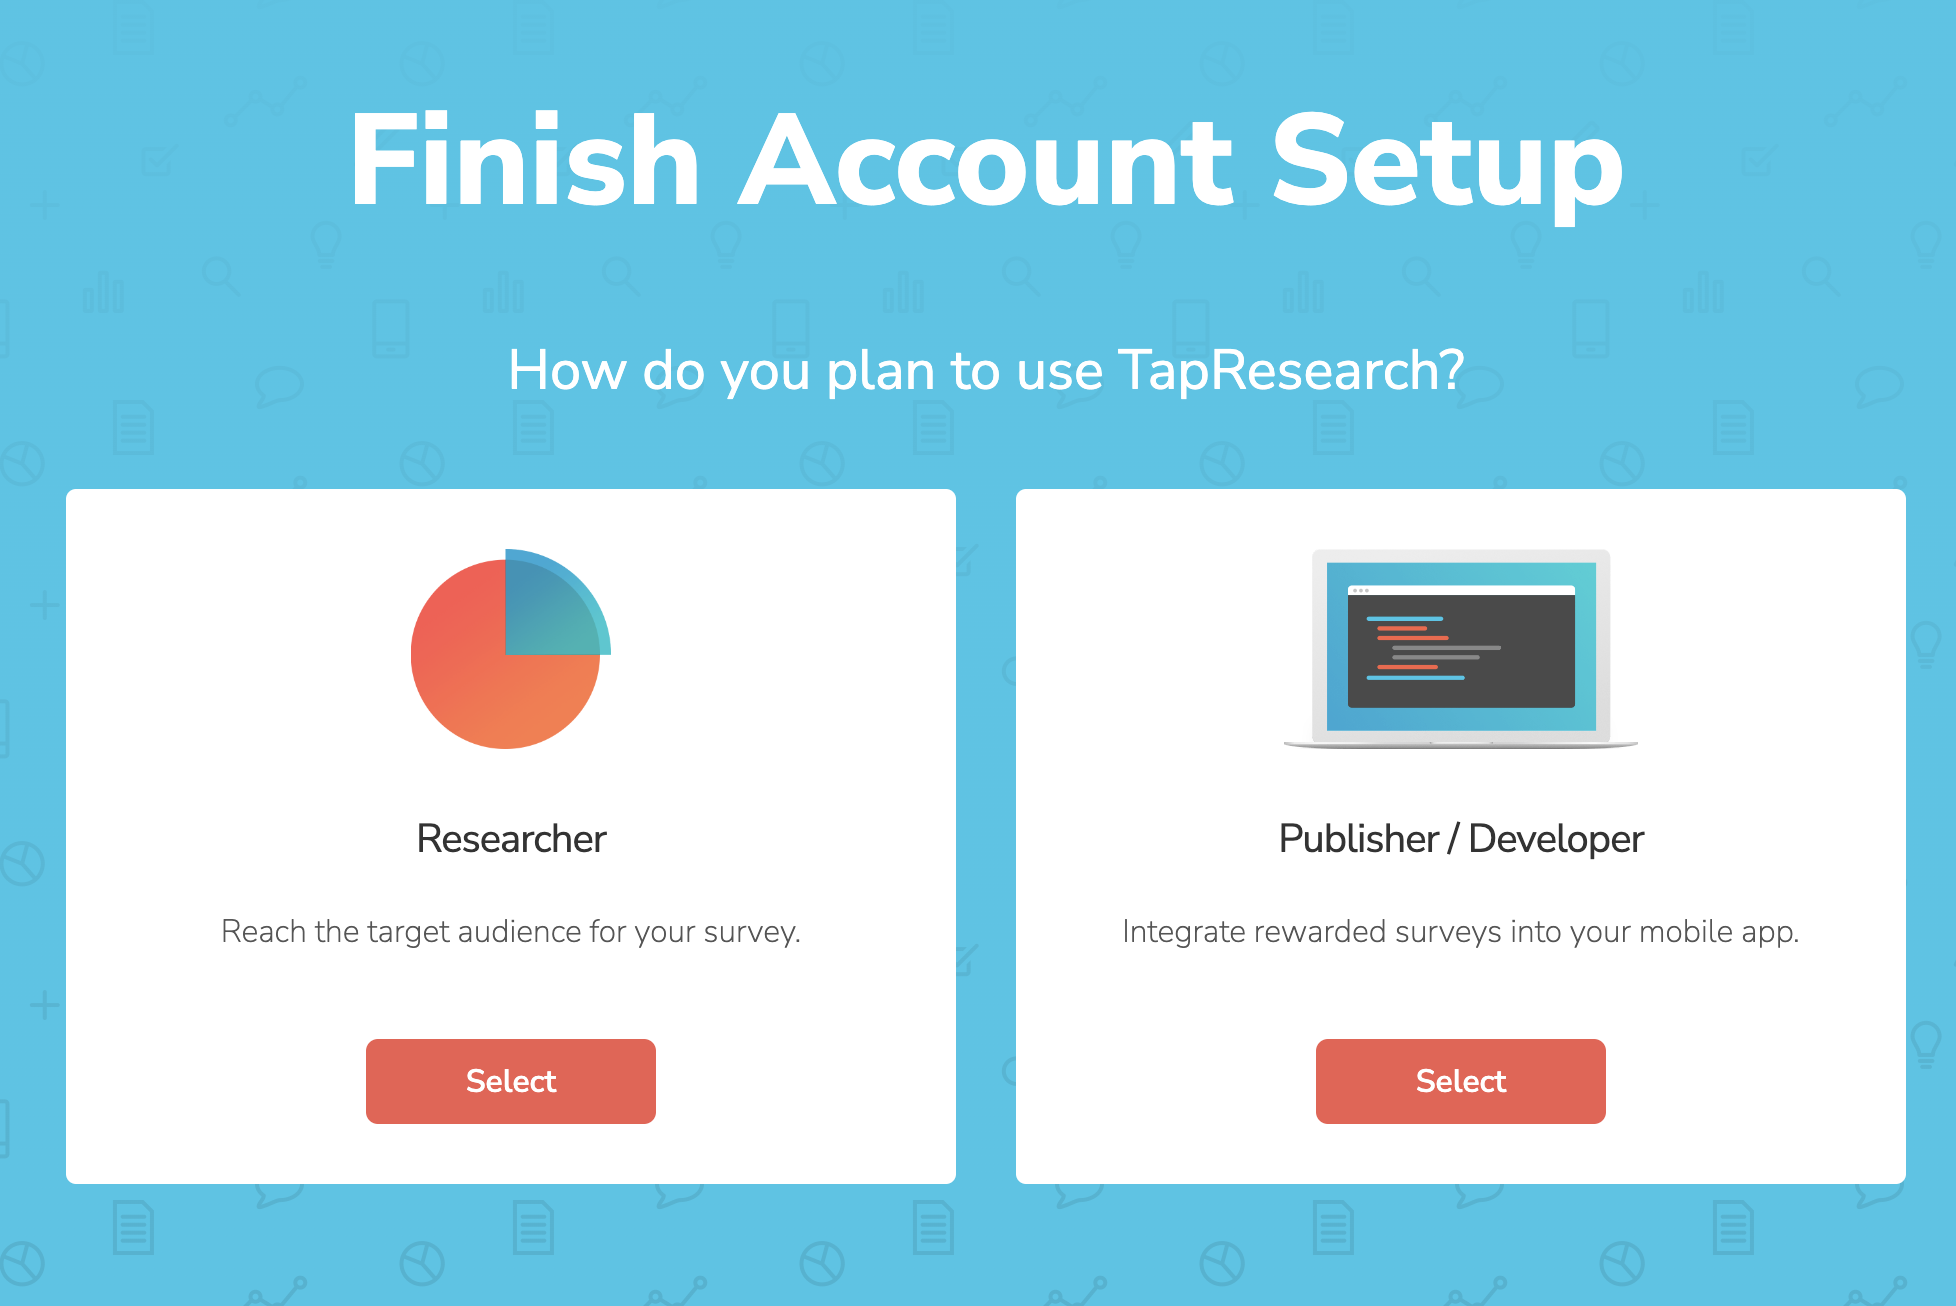
Account approval typically takes a few business hours.
We typically review new accounts within a few hours. Need access sooner? Email developers@tapresearch.com.
2. Choose your integration
Decide how you'll integrate before you create your app — your choice determines how the app is set up. Compare the four paths and pick the one that fits your product.
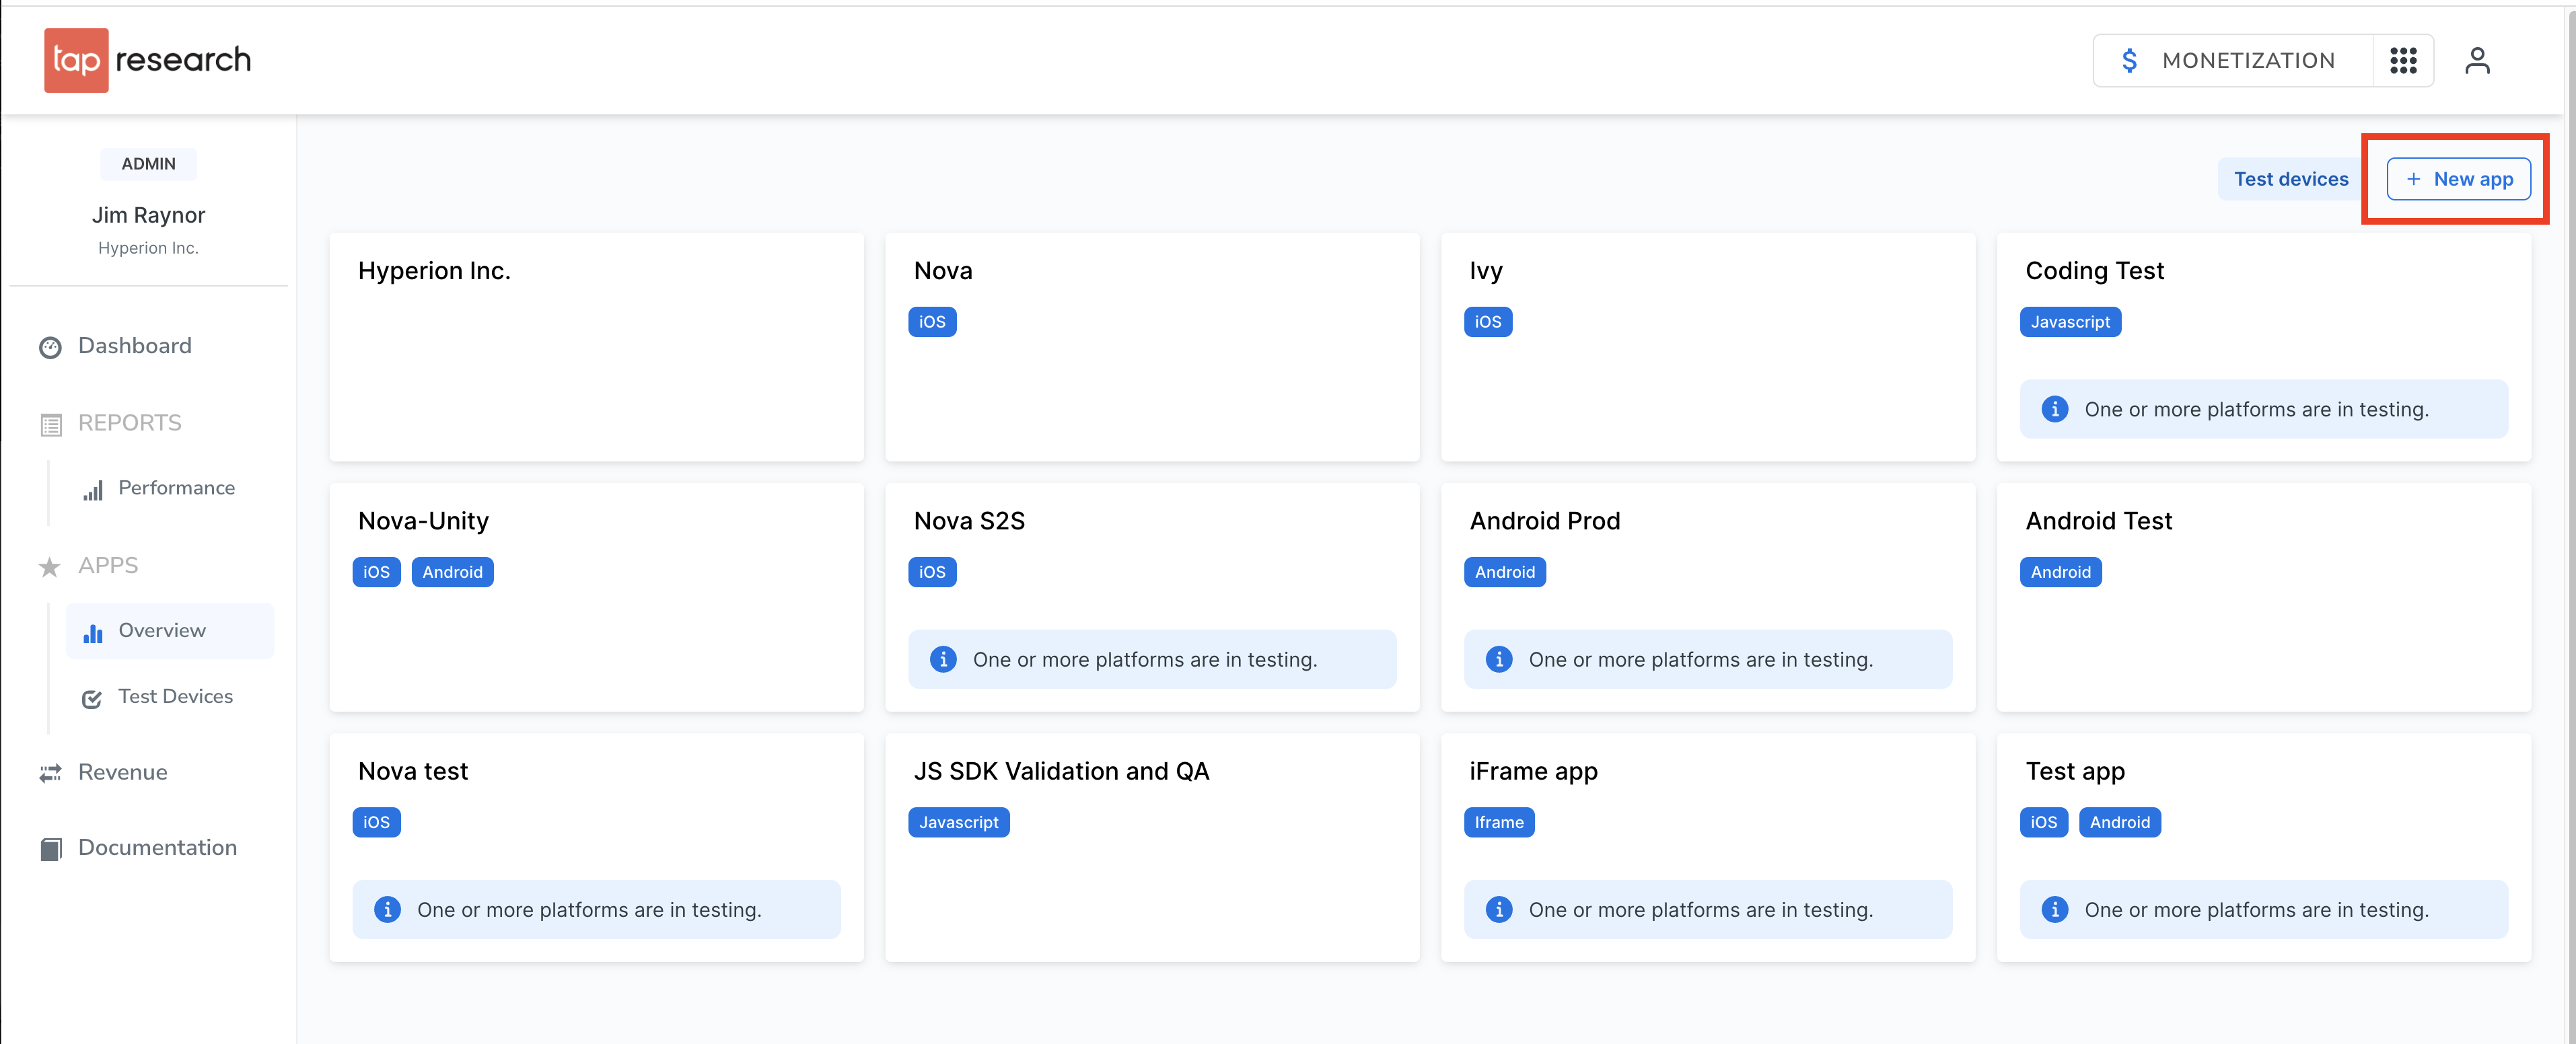
3. Create your app
Create your app from the Publisher Dashboard and select the integration path you chose above. That configures the app correctly for you behind the scenes.
- SDK — select each platform you ship on (iOS, Android, or both). Each platform gets its own API token, so use the matching token in each build.
- Eligibility API or Survey Feed API — one app is all you need. The endpoint is the same across every surface (mobile and web), so a single app and token covers them all.
You can create separate apps for different paths.
4. Configure app settings
- Look & feel — survey wall colors and branding, under Settings → Look & feel.
- App store identifier (SDK apps only) — set it now, or leave it blank and fill it in later.
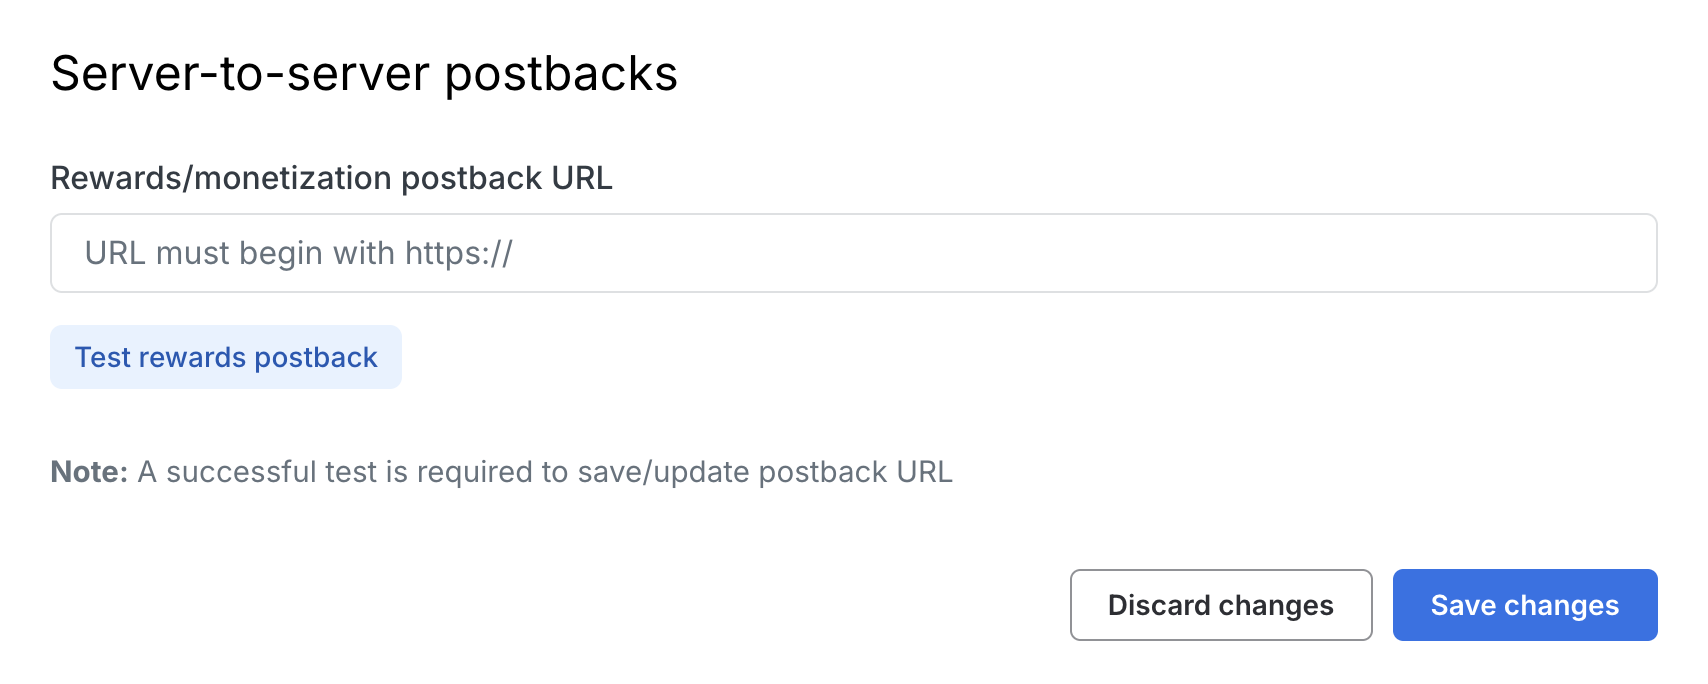
- Postback URL — where TapResearch sends rewards to your server. SDK integrations can use in-app callbacks instead. See Handling rewards for your path: SDK, Hosted Link, Eligibility API, or Survey Feed API.
- Redirect URL (Survey Feed API only) — where participants return after a survey, under Settings → App title settings. See Redirect URLs.
5. Add a currency
A currency is required before you can create content. Set its name, display name, image, exchange rate, and (recommended) a profile reward.
→ Currencies · Exchange rates · Profile reward
6. Add content to a placement
On your app's Manage tab, click Create content to add content to a placement.
7. Build your integration
Now that your app is set up, follow your path's guide to build it.
→ SDK · Hosted Link · Eligibility API · Survey Feed API
8. Test and go live
Until you go live, only test devices can access content. Add a test device, verify everything in test mode, then promote your app to live from its Integration tab.
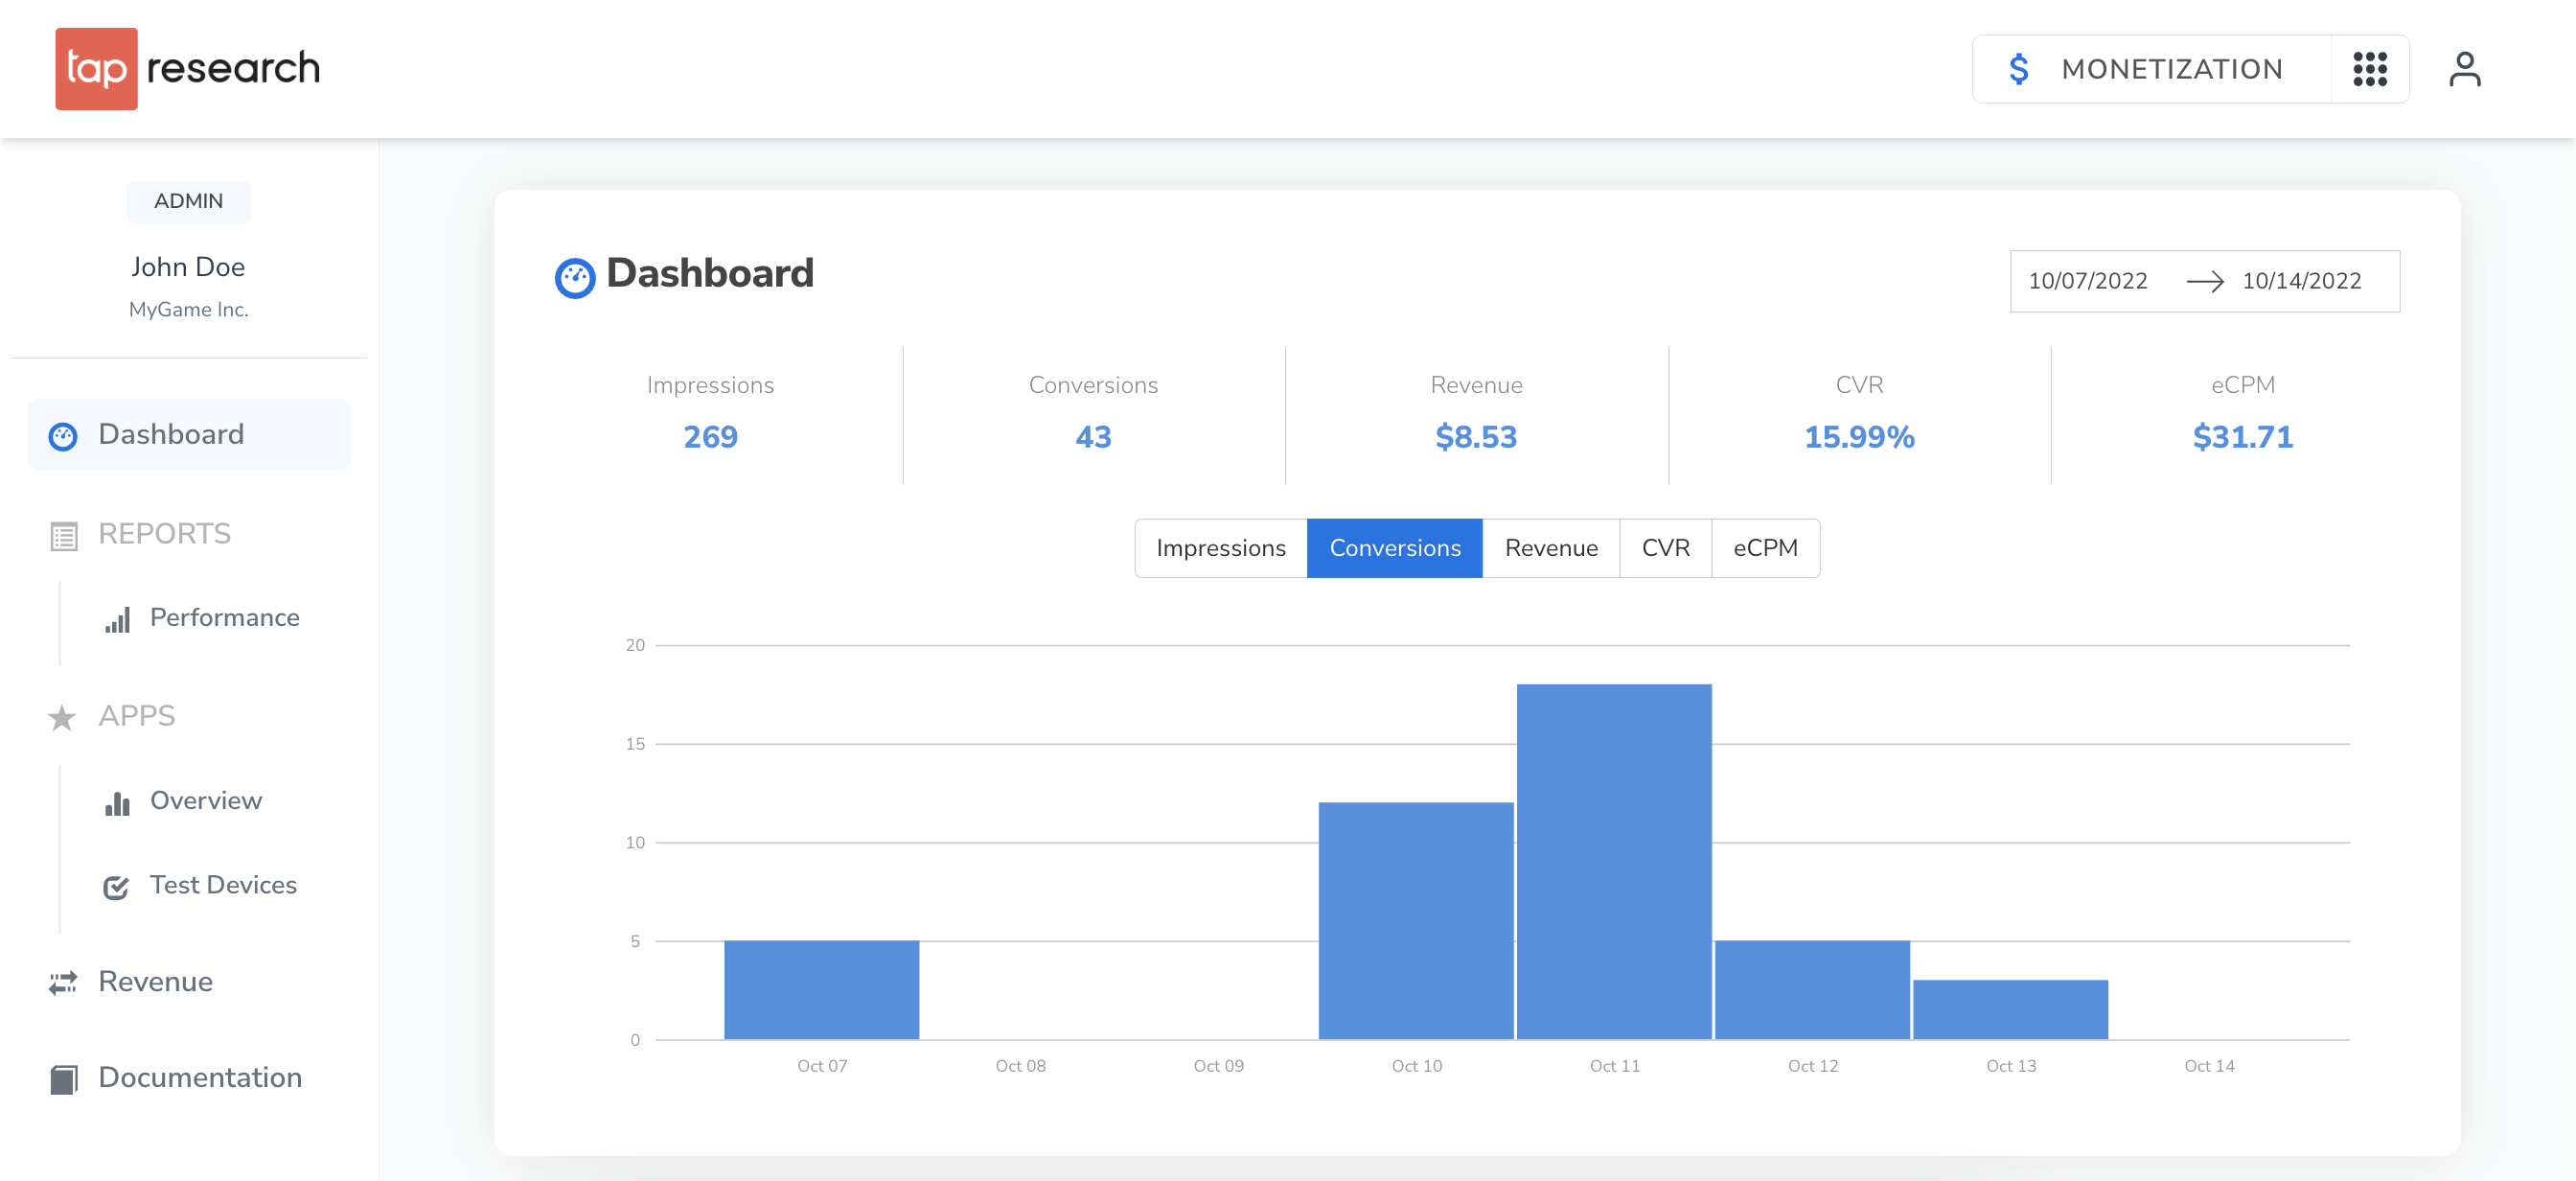
Access the Publisher Dashboard
Once you have an account, the Publisher Dashboard is your home for managing apps, updating settings, accessing your API token, and monitoring performance.